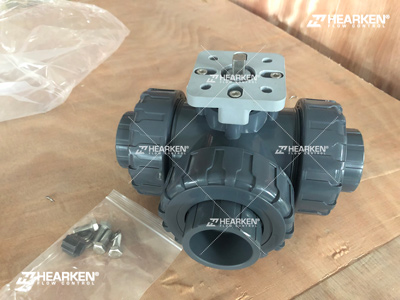
Common Valve Failures and Troubleshooting Methods
Valves are essential components in various systems, and when they malfunction, it can significantly impact operations.
What are the major causes of valve failure?
Valve failures are commonly categorized into three primary issues: valve non-operation, sluggish or creeping movement, and no signal from the positioner.
In this article, we will discuss common valve failures and how to troubleshoot and resolve these problems efficiently.
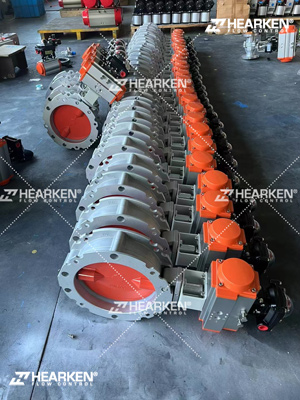
I. Valve Does Not Operate
If a valve does not respond or operate as expected, several factors could be causing the issue. Here are key areas to check:
Possible Causes:
1. Solenoid Valve Malfunction: Ensure the solenoid valve is functioning correctly. A damaged coil or stuck solenoid valve spool due to dirt could be the culprit.
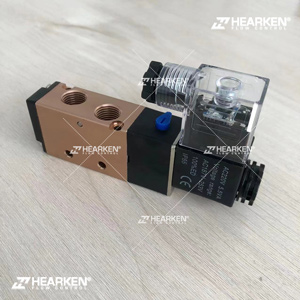
2. Insufficient or Faulty Air Supply to Actuator: Test the actuator by supplying air directly. If the actuator does not respond, check for leakage or damage to seals inside the actuator.
3. Obstructions in the Valve: Debris or foreign materials inside the valve may be preventing the valve core from moving.
4. Manual Override in Use: Ensure that the manual override is not engaged. Sometimes, the manual control handle is left in manual mode, preventing the valve from operating automatically.
Troubleshooting Methods:
1. Replace or clean the solenoid valve and coil if needed.
2. Inspect and replace any damaged seals in the actuator and replace the cylinder if necessary.
3. Remove any foreign particles inside the valve and replace damaged parts.
4. Switch the manual control handle back to the automatic mode.
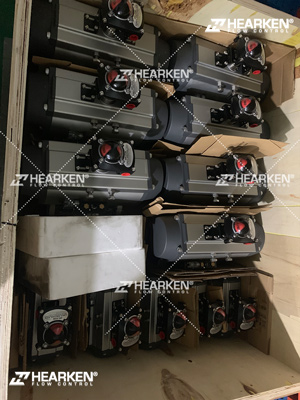
II. Valve Movement is Slow or Creeping
When the valve operates but moves too slowly or experiences "creeping" (continuous motion when the actuator is supposed to be stationary), it is important to examine the following:
Possible Causes:
1. Insufficient Air Pressure: The air supply pressure might be too low to operate the actuator correctly.
2. Undersized Actuator: The actuator may be too small for the application, providing insufficient force for smooth operation.
3. Improper Valve Assembly: The valve components, such as the valve stem or actuator, may be assembled too tightly, causing friction and reducing movement speed.
4. Obstruction in the Air Supply Line: Blockages or restricted airflow in the air supply line can reduce actuator performance.
Troubleshooting Methods:
1. Increase the air supply pressure to the required level for the actuator to operate properly.
2. Upgrade to a larger actuator if the current one is undersized.
3. Check and adjust the valve assembly for proper clearance. Ensure that all parts are correctly aligned and not too tight.
4.Inspect and remove any blockages or restrictions in the air supply line.
III. No Signal from the Positioner
A positioner failure can result in a lack of feedback to the control system, preventing accurate control of the valve's position. If no signal is received from the positioner, check the following:
Possible Causes:
1. Power Supply or Wiring Issues: A short circuit, broken wire, or improper connection to the signal power source may be the cause.
2. Incorrect Positioner Adjustment: The actuator positioner may be incorrectly calibrated or the cam wheel not aligned properly.
3. Damaged Micro-Switch: A malfunctioning micro-switch inside the positioner can lead to a lack of signal.
Troubleshooting Methods:
1. Repair or replace any damaged or disconnected power supply lines.
2. Adjust the cam wheel and positioner to ensure it is correctly aligned with the actuator’s movement.
3. Replace any faulty micro-switches in the positioner to restore proper signaling.
Conclusion
Proper troubleshooting and maintenance of valves are crucial to ensure smooth and reliable operation in any system. By carefully identifying the symptoms of valve failures and applying the appropriate corrective actions, system downtime can be minimized, and operational efficiency can be maintained.
Frequently Asked Questions
Q: Some valves cannot be closed?
A: Use a multimeter to measure whether the control signal is fully closed: For example, the Hearken adjustment type is 4-20mA, which means that when the input is 4mA, the valve is fully closed, and when the input is 20mA, the valve is fully open. You need to use a multimeter to measure whether the control signal is already in the 4mA fully closed state.
Q: Will the hard sealing metal of the butterfly valve leak?
A: No, whether it is a metal valve seat or polytetrafluoroethylene, there is zero leakage.
Q: What is the manufacturing process of the silicone sealing strip?
A: The manufacturing process is vulcanization.
Q: What is the maximum temperature that the metal valve seat made of polytetrafluoroethylene can withstand?
A: 150℃
